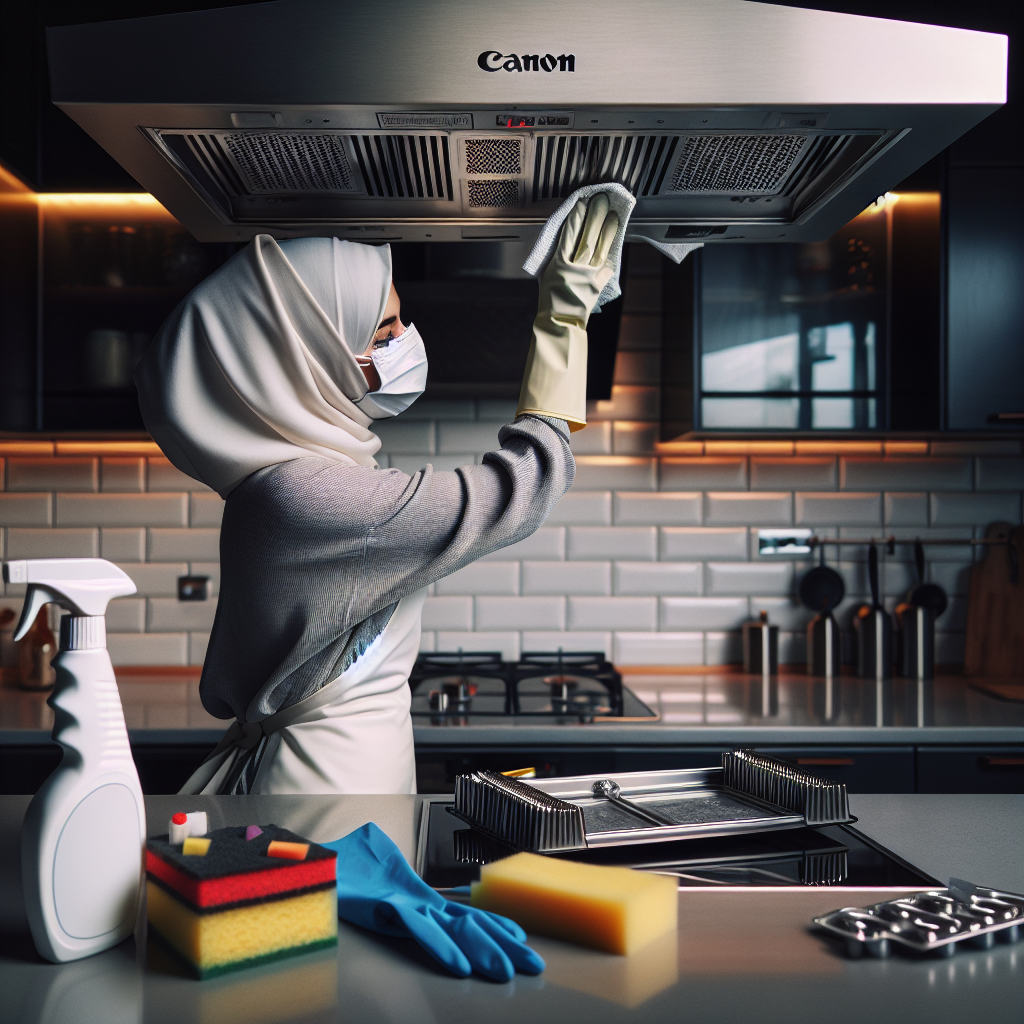
How to Clean Your Kitchen Hood: A DIY Guide
Introduction
Cleaning your kitchen hood can be a daunting task, but with the right steps and a bit of elbow grease, you can keep it sparkling clean and running efficiently. Not only will a clean hood enhance the overall cleanliness of your kitchen, but it will also improve air quality and reduce the risk of grease fires. In this guide, we’ll walk you through everything you need to know about DIY hood cleaning.
Why Clean Your Hood?
Your kitchen hood is designed to vent smoke, grease, and odors out of your kitchen, but over time it can become clogged with grime. This not only reduces its efficiency but can also pose a serious fire hazard. Regular cleaning helps maintain its performance and safety. Plus, who doesn’t love a clean kitchen?
Tools and Supplies Needed
- Dish soap
- Warm water
- Degreaser
- Screwdriver
- Soft cloths or sponge
- Bucket
- Plastic scrapers
- Non-abrasive scrubbing pads
- Protective gloves
Step-by-Step Guide
1. Preparation
Before diving in, make sure to turn off the power to your kitchen hood to prevent any electrical accidents. Then, gather all your supplies and place them within easy reach.
2. Remove the Filters
Most kitchen hoods come with metal filters that are designed to trap grease. Using a screwdriver, carefully remove these filters. Check your hood’s manual if you’re unsure how to do this.
3. Soak the Filters
Place the filters in a sink or bucket filled with hot water and a generous amount of dish soap. Allow them to soak for at least 15-20 minutes to loosen the grease and grime.
4. Clean the Hood
While the filters are soaking, it’s time to clean the rest of the hood. Use a damp cloth or sponge and apply the degreaser. Be sure to cover all surfaces, including the exterior and the interior of the hood. For tougher spots, use a plastic scraper or non-abrasive scrubbing pad.
5. Scrub the Filters
After soaking, scrub the filters with a non-abrasive pad or soft brush to remove any remaining grease. Rinse them thoroughly with warm water and allow them to dry completely before reinstalling them.
6. Rinse and Dry
Once the hood and filters are clean, wipe them down with a damp cloth to remove any remaining soap or degreaser residues. Make sure everything is completely dry before reassembling.
7. Reassemble the Hood
Once the filters and hood are dry, carefully reattach the filters using the screws you removed earlier. Make sure everything is securely in place.
8. Final Touch
Turn the power back on and test the hood to ensure it’s working properly. Congratulations, you’ve successfully cleaned your kitchen hood!
Tips for Maintaining a Clean Hood
- Regular Maintenance: Give your hood a quick wipe-down every week to prevent grease build-up.
- Deep Cleaning: Perform a deep clean every three to six months to keep your hood in top shape.
- Use a Degreaser: A good degreaser can make the job much easier, so don’t skip this step.
Conclusion
Regular cleaning of your kitchen hood is essential for maintaining a safe and efficient kitchen. While it might seem like a chore, the benefits far outweigh the effort involved. Whether you are a home cook or running a commercial kitchen, keeping your hood clean is crucial. For more professional hood cleaning services, check out New Orleans hood cleaning.


